


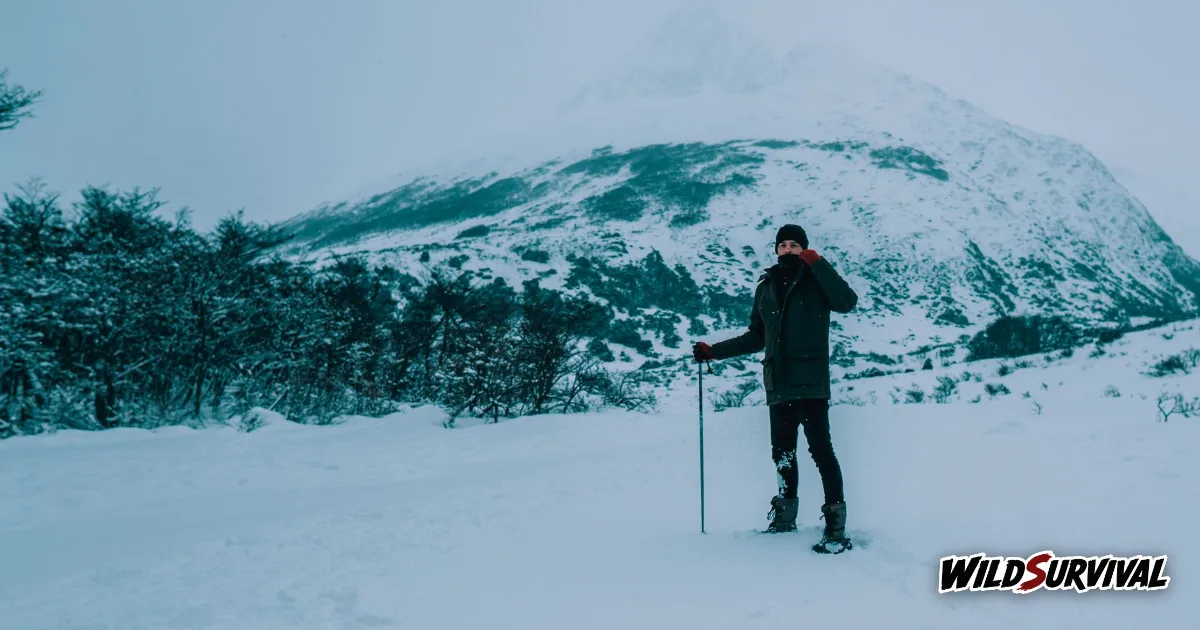
Managing avalanche risk snowshoeing starts the evening before, with the regional avalanche bulletin, which rates the danger on the European scale from 1, low, to 5, very high. Once you leave marked snowshoe routes, an avalanche transceiver, a shovel and a probe become essential, along with the training to use them. On the day, what you see in the snow and the terrain decides the rest, right up to turning back when conditions look doubtful.
Why snowshoers belong in the avalanche statistics
Avalanche risk snowshoeing is easy to underestimate. The sport has a reputation as a gentle winter walk, yet the people who write avalanche forecasts name snowshoers explicitly. The French weather service’s 2025 avalanche guide from Météo-France states that the probability of an avalanche triggered by a skier, a snowboarder or a snowshoer rises with each level of the scale. The same guide lists a snowshoer as an example of a low additional load, alongside a lone skier moving smoothly without falling.
That guide also separates two families of avalanches. Natural releases follow the weather: fresh snowfall, wind loading, rain or a sharp rise in temperature. Human-triggered avalanches come from a local load such as skiers or walkers crossing a slope, and they occur almost exclusively as dry slab avalanches. In other words, much of the avalanche risk snowshoeing in steep terrain comes down to where you choose to put your feet.
The European avalanche danger scale, level by level
Across Europe, avalanche warning services use the same five-level scale, published by the European Avalanche Warning Services on its avalanche danger scale page. Météo-France explains that the scale starts at 1 because zero risk does not exist in the mountains. Each level describes how stable the snowpack is and how much avalanche activity to expect.
| Level | How EAWS describes triggering |
|---|---|
| 1 Low | Generally stable conditions; triggering is generally possible only from high additional loads in isolated areas of very steep, extreme terrain |
| 2 Moderate | Heightened conditions on specific terrain features; triggering is possible, primarily from high additional loads |
| 3 Considerable | Dangerous conditions; triggering is possible, even from low additional loads, particularly on the indicated steep slopes |
| 4 High | Very dangerous conditions; triggering is likely, even from low additional loads, on many steep slopes |
| 5 Very high | Extraordinary conditions; numerous very large natural avalanches, even in moderately steep terrain |
For avalanche risk snowshoeing, level 3 deserves the closest attention. EAWS says it is forecast for around 30 % of the winter season and accounts for around 50 % of avalanche fatalities. At this level a low additional load can be enough, and a snowshoer counts as a low load. EAWS adds that remote triggering is typical at level 3, especially when a persistent weak layer is one of the avalanche problems in the bulletin.
Météo-France also defines the other end of the load scale. A high additional load means several skiers with no spacing between them, a piste groomer or an explosive charge. A group that keeps at least 10 metres between each person still counts as a low load, so spacing out is one of the simplest habits for avalanche risk snowshoeing in a group.
More articles on WildSurvival
- Quinzhee Snow Shelter: How to Build One That Holds
- Stevenson Trail: Walking the GR70 With or Without a Donkey
- Microspikes: Choosing Winter Traction for Icy Trails
Reading the bulletin for avalanche risk snowshoeing
The number on the map is only the headline. Using the French bulletin as its example, Météo-France describes what a full forecast contains for each mountain range: the maximum danger level, a pictogram showing the elevations at risk, another showing the aspects of the most dangerous slopes, a section on snowpack stability, snow depth by altitude on north and south faces, a short weather outlook and a 48-hour trend.
The snowpack stability section is the core of the bulletin, according to Météo-France. It explains the state of the snow, the type of avalanche danger and where the worst slopes are. For avalanche risk snowshoeing, pick out three things: the danger level for the range, the elevations concerned and the aspects flagged as most dangerous. Then lay them over your map. A route that crosses a slope of the flagged aspect, at the flagged elevation, needs rethinking. The trend section helps with timing too, showing whether avalanche risk snowshoeing tomorrow is likely to rise or fall, so you can move a trip by a day.
The guide warns against judging a trip on the number alone. It quotes, as the mistake to avoid, the reasoning that at level 2 you can go anywhere and at level 4 you stay home, and it asks readers to go through the whole bulletin. It also stresses that a bulletin is a decision-making aid that only applies away from open, marked ski runs.
Where you find the bulletin depends on the country you are walking in, since each range is covered by its own regional service. The Météo-France guide points readers to avalanches.org to check the avalanche danger across Europe, which is a sensible first stop before a trip abroad.
Marked snowshoe trails or open terrain
When you plan for avalanche risk snowshoeing, dedicated snowshoe routes marked by a resort or a hiking body are the obvious starting point. The French hiking federation’s winter safety advice says not to follow summer hiking signs in snowy mountain areas, and to stick to snowshoe waymarking, which it describes as running through prepared areas free of avalanche risk. It adds that unmarked routes remain open to snowshoers, provided you check beforehand that the route is passable.
Leaving the marked trail is where avalanche risk snowshoeing becomes a real planning question, because you are now on terrain nobody has prepared for you. If you are new to the sport, our guide to snowshoeing for beginners covers kit and technique before you head off the waymarked routes.
Météo-France makes a further point that applies anywhere: existing tracks in the snow are no absolute guarantee of safety. Judge the slope in front of you on today’s snow.
Transceiver, shovel and probe for avalanche risk snowshoeing
The advice drawn up by ANENA, the French snow and avalanche study association, and reproduced in the Météo-France guide, opens with kit: carry an avalanche transceiver and learn to use it. The guide is blunt about the rest, saying a transceiver loses much of its value if you do not also carry a shovel and a probe. A transceiver, it notes, helps rescuers find a buried person faster.
Before every outing, test your transceiver in send and search mode, then check it is switched to send when you set off. Treat it as part of avalanche risk snowshoeing preparation: a group routine at the start of the route, before anyone spreads out.
The guide also asks walkers to be self-sufficient, because mountain weather turns quickly. Pack warm clothing, food, something to drink and a survival blanket, and our guide to the survival blanket and which way round to use it covers how it works. Leave your route and rough return time with someone, and do not go alone.
Reading snow and terrain on the day
Out on the hill, the guide asks you to test the bulletin against what you see. How much new snow has fallen? Has the wind worked the surface? Are there cornices along the ridges? Stay especially alert during and straight after a snowfall that comes with wind. Early in the season, a thin snowpack is often unstable.
None of these checks needs special equipment, which makes them the backbone of avalanche risk snowshoeing decisions on the day. Stop at each change of slope, look at what sits above the route, and ask the group whether the snow in front of you matches the bulletin.
Warming matters too. The guide advises avoiding steep, sunny slopes at the start of a strong warm spell, particularly after recent snowfall, and getting back early in spring to stay clear of wet snow slides. Be wary of convex rolls, cliff bands and the hollows where wind deposits snow.
On a doubtful passage, the guide lists simple habits. Take your hands out of your pole straps, widen the gaps between people or send just one person across at a time, keep watching each other, stop only in sheltered spots and move smoothly. If conditions still look wrong, turn back. In a larger group, count heads regularly, and keep the day within the technical and physical level of the weakest member.
Caught in an avalanche, or watching one
If a slide takes you, the guide admits everything happens very fast. It still gives a few pointers: stay calm, try to escape to the side, grab any obstacle, fight to stay on the surface by getting rid of your poles if you can, and keep your mouth shut to protect your airway. As the snow stops, fold your arms in front of your face to make an air pocket.
If you witness one, follow the person with your eyes and fix the point where you last saw them. If possible, post a lookout in case of a second slide, call 112 and mark the last-seen point. Search downslope of that point, in flat spots, hollows, the edges of the debris and above rocks or trees. Use your transceiver, and without one, probe the snow with poles or a branch. Practising transceiver searches before winter belongs in avalanche risk snowshoeing preparation, since the guide asks you to learn to use the device.
The guide is precise about raising the alarm. If there are enough of you, send two people for help straight away. Otherwise, search hard for 15 minutes, then go and raise the alarm if you have found nothing. A buried person may have multiple injuries, may have stopped breathing and may be hypothermic, so first aid has to start the moment you reach them. Our article on mountain distress signals explains how to call for help with no gear.
Avalanche risk snowshoeing at a glance
| When | What to do |
|---|---|
| The night before | Read the full bulletin: danger level, elevations, aspects, trend |
| Route | Follow snowshoe waymarks, and check any unmarked route before you go |
| Kit | Transceiver, shovel and probe, tested at the start, plus warm layers and a survival blanket |
| On the hill | Watch new snow, wind, cornices and warming, and cross doubtful slopes one at a time |
| Accident | Fix the last-seen point, call 112, search with transceivers |
Most of the work on avalanche risk snowshoeing happens before you strap in. Read the bulletin, choose a route that suits the day’s danger level and your group, and keep turning back on the table at every stage.