

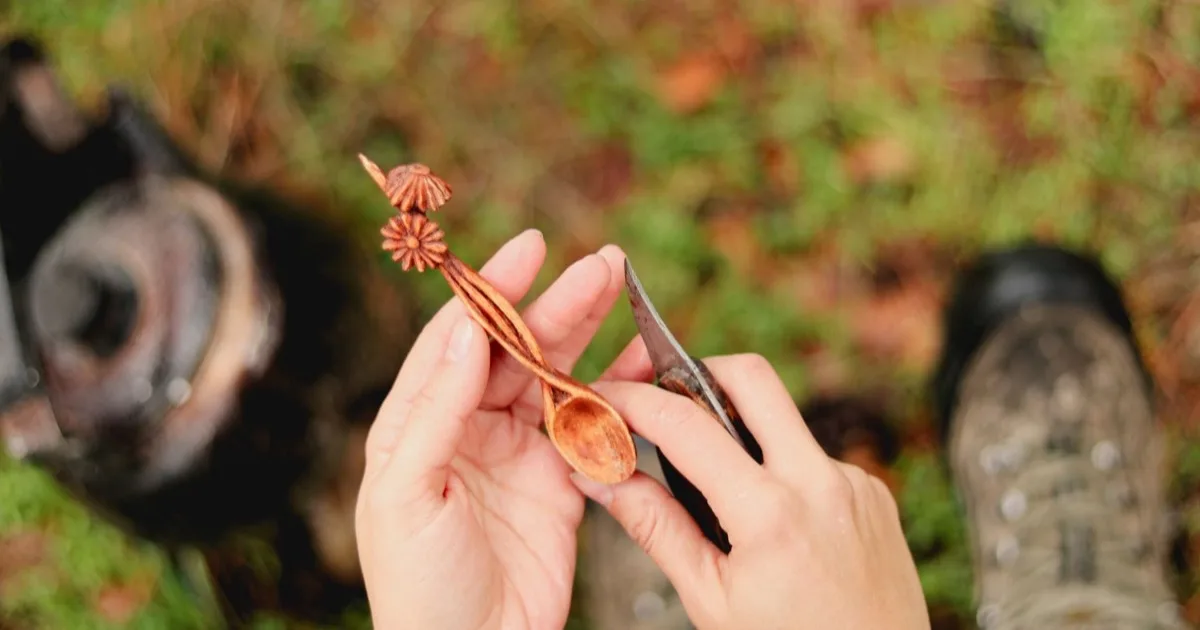
Spoon carving starts with three things: a piece of freshly cut green wood from a soft species, straight-grained and free of knots; a straight knife to shape the outside; and a hook knife to hollow the bowl. Green wood carves far more easily than seasoned wood, and the finished spoon then dries slowly away from heat before it gets a coat of food-safe plant oil. Before you cut so much as a branch, get the landowner’s permission, because woodland and its timber belong to a landowner.
Picking the right wood for spoon carving
The English woodworker Robin Wood steers beginners towards the softest hardwoods. On his guide to the best woods for spoon carving, he names willow, poplar, alder and lime, describes them as the softest of the hardwoods, and says they carve really easily when freshly cut or green.
Once your hands know what they are doing, he suggests moving on to birch, the maples and fruitwoods. He rates sycamore as plentiful and excellent, and admits to being a fan of horse chestnut.
For spoon carving, the quality of the piece matters more than the species at the start. Robin Wood asks for clean, straight-grained wood with no knots. Straight grain lets you predict how the wood will behave under the blade, which is exactly what a first-time carver needs. Look for a regular length of branch or small trunk with no splits and no soft, rotten patches.
Where the wood for spoon carving comes from
It is tempting to pick up a nice branch on a walk, but trees and fallen timber belong to the landowner. Ask before you take anything, whether it is a farmer, a woodland owner or the person managing a local estate.
In France the rules are written down plainly. The French forestry code punishes the cutting or removal of trees of at least 20 centimetres in girth, measured 1.30 metres above the ground, in someone else’s woodland as theft, and cutting smaller wood there carries a fine with possible confiscation of tools. If you are carving on a trip abroad, assume the same caution applies until you know otherwise.
The easiest sources are often closer to home: a neighbour pruning a tree, a garden tree being felled, or a tree surgeon willing to hand over offcuts. A recently cut branch, still green, is exactly the material Robin Wood recommends for a first spoon.
More articles on WildSurvival
- How to Use a Compass With a Map in Three Steps
- Hiking the GR20 in Corsica: Stages, Booking and Supplies
- Wild Camping in France: Bivouac Rules, Parks and Fires
The tools a beginner actually needs
In an article for Australian Wood Review, Greg Miller lists the three core spoon carving tools: a straight sloyd knife, a hook knife and a carving axe. The axe speeds up roughing out a thick blank, though a first spoon can be made with the two knives alone if you start from a piece close to the finished size.
For the straight knife, the spoon carver Barn the Spoon, who teaches at the North House Folk School in the United States, points to the Mora 106 or Mora 120 as great and easily accessible options on the page for his course.
The hook knife has a curved blade that scoops out the inside of the bowl, a job a straight blade cannot do cleanly. Whatever the tool, keep it sharp: a keen edge needs less force on every cut, and a hand that pushes less keeps better control of the blade. Our guide to sharpening a bushcraft knife covers how to keep that edge.
Carving the spoon, step by step
Start by drawing the spoon in pencil on the blank, once from above and once from the side. The side profile matters as much as the outline, and a gentle crank between handle and bowl makes a spoon nicer to hold and better at scooping.
If you are unsure about proportions, trace round a wooden spoon you already like using at home. Copying the length of its handle and the width of its bowl gives you a first outline that you know will feel right in the hand, and you can adjust from there on the next one.
Next, remove the bulk of the waste around your outline, with the axe if you have one, or in small slices with the straight knife. Always work with the grain, from thick towards thin. If the wood lifts and tears instead of coming away in clean shavings, you are cutting against the grain: turn the piece round and come at it from the other direction.
With the silhouette in place, refine the handle and the back of the bowl with the straight knife, taking off the corners and gradually rounding over the facets left by the previous stage. Leave plenty of wood at the neck, where handle meets bowl, and only slim it down at the very end.
Hollowing the bowl is the last stage of spoon carving. With the hook knife, work in small passes from the rim towards the centre, turning the spoon to follow the grain. Check the wall thickness often between finger and thumb, and stop before it gets fragile.
Spoon carving safely, every cut
Barn the Spoon’s course description gives a whole section to safe carving techniques, knife grips and how to hollow a spoon bowl safely. That tells you how central safety is to learning spoon carving, alongside the shape of the spoon itself.
The basic rule is to know, on every cut, where the blade will go if it slips, and to keep your holding hand, your thigh and the inside of your leg, where the femoral artery runs, well out of that line. Sit down, brace your elbows, hold the work firmly, and take several small shavings rather than one big cut that needs force.
Grips that cut towards the body exist and are very useful, but they are best learned from a teacher or from a video by a recognised carver rather than from a written description. Until you have them, keep your cuts moving away from you. A small first aid kit within reach belongs in the carving kit too.
If you want to progress quickly at spoon carving, a one-day or weekend class with an experienced carver is worth hours of trial and error. Barn the Spoon’s syllabus at North House shows what to expect: safe techniques, knife grips and hollowing, the very skills that need to be seen before they can be copied.
Drying and oiling a carved spoon
A spoon carved from green wood still holds a lot of water. In his Australian Wood Review piece on spoon carving, Greg Miller recommends slow air-drying away from heat, wind and draughts. Leave the spoon in a room at normal temperature, away from radiators and direct sun, and give it time.
Once it is dry, a few finishing cuts with a very sharp knife tidy up any surfaces that have lifted slightly. Then comes the finish. The same article notes that most food-safe oils are plant-based natural oils, and advises against lacquers, polyurethanes and waxes on a utensil that will touch food.
Your first spoon will probably not be perfect, and that is fine. Every piece teaches you to read the grain, pace your effort and keep a clean edge. Spoon carving rewards repetition, and by the third spoon you will have something you are happy to take on a camping trip. To round out your kit, our overview of bushcraft tools, knife, axe and saw helps you choose gear that also earns its place in the woods.