

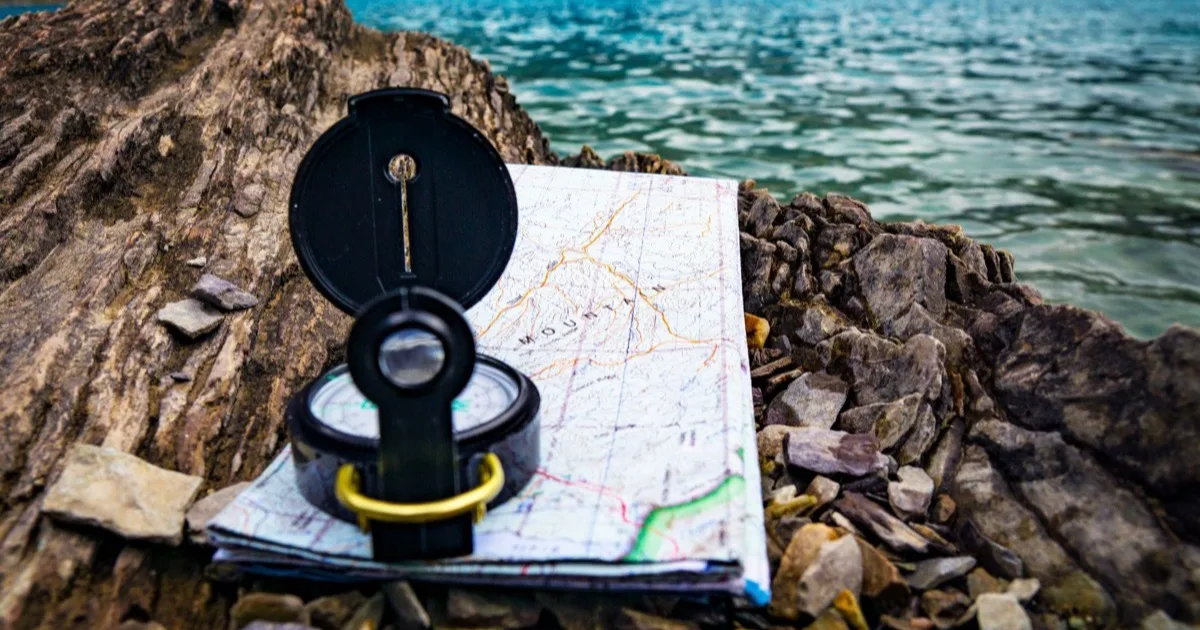
Here is how to use a compass with a map: lay the baseplate along a line from where you are to where you want to go, turn the housing until its orienting lines sit parallel to the map’s north lines, then lift the compass and turn your body until the red needle settles inside the red arrow. The direction of travel arrow now points along your bearing, and you follow it by walking towards a fixed landmark on that line. That is the three-step method taught by the Swedish compass maker Silva, and it covers almost every hill walk where the path disappears or the cloud comes down.
The parts of a baseplate compass you actually use
The baseplate compass is the standard hiking compass because it is built to sit flat on a map. The Ordnance Survey beginner’s guide to using a compass breaks it into five working parts, and the rest of this guide on how to use a compass relies on the same names.
- Baseplate: the clear, flat base whose straight edge lines up a route between two points on the map.
- Needle: the magnetised pointer whose red end always points north.
- Rotating bezel: the housing ring, marked with 360 degrees, which you turn by hand.
- Orienting lines and arrow: printed inside the housing, they line up with the grid lines on the map.
- Direction of travel arrow: marked on the baseplate, it shows the way to walk.
The same guide adds one practical warning about how to use a compass: keep it away from phones and metal objects, because both pull the needle off line. In practice that means a separate pocket for your phone, and taking a few steps away from a car, a fence or a walking pole before you take a reading.
Taking a bearing from the map
Learning how to use a compass starts on the map, before you take a single step. In the Silva 1-2-3 system, the first step is to place the compass on the map so that the edge of the baseplate forms a straight line between your current position and your destination. The direction of travel arrow must point towards where you are going. Point it back at your start and every number that follows is reversed.
Step two: keep the baseplate still and turn the housing until the red part of its north arrow sits parallel to the north-south lines of the map and points to the top of the sheet. The orienting lines inside the housing help you check that they run parallel along their full length. The figure on the bezel at the index mark is now your bearing, the angle between north and the line you want to walk.
This part goes better with the map flat on a rock or on your rucksack than held up in the wind. A few degrees look trivial on paper. The French mapping agency IGN puts a number on it in its compass tutorial: an error of one degree on a target six kilometres away puts you roughly 100 metres off on the ground.
More articles on WildSurvival
- Hiking the GR20 in Corsica: Stages, Booking and Supplies
- Wild Camping in France: Bivouac Rules, Parks and Fires
- Food for a Multi-Day Hike: Calories, Weight and a Sample Day
How to use a compass once it leaves the map
Step three: lift the compass off the map without touching the housing and hold it level in front of you, direction of travel arrow pointing straight ahead. Then turn your whole body, compass and all, until the red end of the needle lines up with the red north arrow in the housing. Ordnance Survey teaches this as “putting red in the shed”, a handy way to remember which arrow the needle belongs in.
With the needle settled, the direction of travel arrow shows your line. Rather than staring at the compass as you walk, the OS guide suggests picking a fixed feature in the distance on that line, such as a distinctive tree, a rock or a hilltop, and walking to it. When you get there, sight the next feature and repeat. Moving in these short legs stops the slow drift that creeps in when you skirt round boggy ground or a boulder field.
In thick woodland the landmarks get closer together and the checks get more frequent. Our guide on navigating a forest without signal covers the other ways to hold a direction when the trees close in around you.
How to use a compass to set the map
Knowing how to use a compass to set the map is a simpler job than taking bearings: setting the map means turning it so that what it shows lines up with what you see. Lay the compass on the map with the orienting lines parallel to the grid lines and the housing arrow pointing to the top of the sheet, then rotate map and compass together until the red needle sits inside the arrow.
Once the map is set, a valley that runs off to your left on paper also runs off to your left in front of you. That is the moment to confirm where you are by matching two or three features, a col, a ridge line, a stream or the edge of a wood. Reading the ground matters as much as knowing how to use a compass, because a bearing is only as good as the starting point you took it from.
Scale decides how much detail you can match. On a 1:25 000 sheet, the scale of the IGN TOP 25 series in France according to the French hiking federation, one centimetre on the map stands for 250 metres on the ground. That is enough detail in the contour lines, paths and streams to check your position every few hundred metres.
Magnetic north and grid north: how to use a compass correction
The needle points to magnetic north, which is not quite the same as the top of the map. Ordnance Survey explains this in its piece on the three norths: true north, grid north, which is the top of the map, and magnetic north, which moves slowly at a variable rate. The angle between grid north and magnetic north is the one walkers need to know.
Britain is going through an unusual moment. The British Geological Survey describes how the three norths have been lining up along the 2° West meridian between 2022 and 2026, starting in Dorset at the end of 2022, passing Skipton in the first half of 2024 and reaching Fraserburgh in Aberdeenshire in 2026. According to Ordnance Survey, magnetic north has moved from the west of grid north to the east of it for the first time in Great Britain since the 1660s.
For walking in Britain today the correction is small, and it now runs east of grid north, the opposite side from the one British walkers corrected for over the previous centuries. When you do need to correct, the OS rule of thumb is “from grid to mag add, from mag to grid get rid”, applied with the current angle for your area. Elsewhere, the declination calculator run by NOAA, the US agency behind the World Magnetic Model, gives a value for any coordinates; for Paris on 5 October 2026 it returns 2.08° east, changing by 0.15° a year.
The IGN rule of one degree for 100 metres over six kilometres tells you when to bother. On a short leg towards a visible feature, the error closes up by eye. On a long bearing across featureless moorland in cloud, knowing how to use a compass properly means applying the correction for your area before you set off.
Mistakes in how to use a compass
The most common slip is pointing the direction of travel arrow at your starting point instead of your destination. The bearing you get is the exact opposite of the one you need, and you often notice only when the ground stops matching the map. Before lifting the compass, check that the baseplate arrow faces where you are heading.
The second is knocking the housing round between the map and the ground, usually when the compass goes back into a pocket. Note the bearing figure before you move off so you can reset it if the bezel shifts.
The third comes from your surroundings. Metal, phones, power lines and vehicles all deflect the needle, so step away before you sight. Silva also asks you to hold the compass horizontally while you turn, so keep it flat in your palm at chest height.
If nothing around you matches the map any more, stop before walking further. The STOP method for getting lost in the woods sets out the order of things to do to get back in control.
Practising how to use a compass before you need it
The best place to practise how to use a compass is ground you already know, on a clear day. Pick two features you can see on the map, a church and a summit for example, take the bearing on paper, then check on the spot that the direction of travel arrow really points at the right one.
Once that feels natural, try a short leg off the path and note at the end how far you landed from the point you aimed for. It is the most honest way to measure how well you know how to use a compass before you rely on that skill in mist or failing light.
A GPS and a phone are useful, but both depend on a battery and sometimes on a signal. A baseplate compass and a 1:25 000 map need no power and work in any weather, and the three-step method becomes second nature after a few practice outings.