


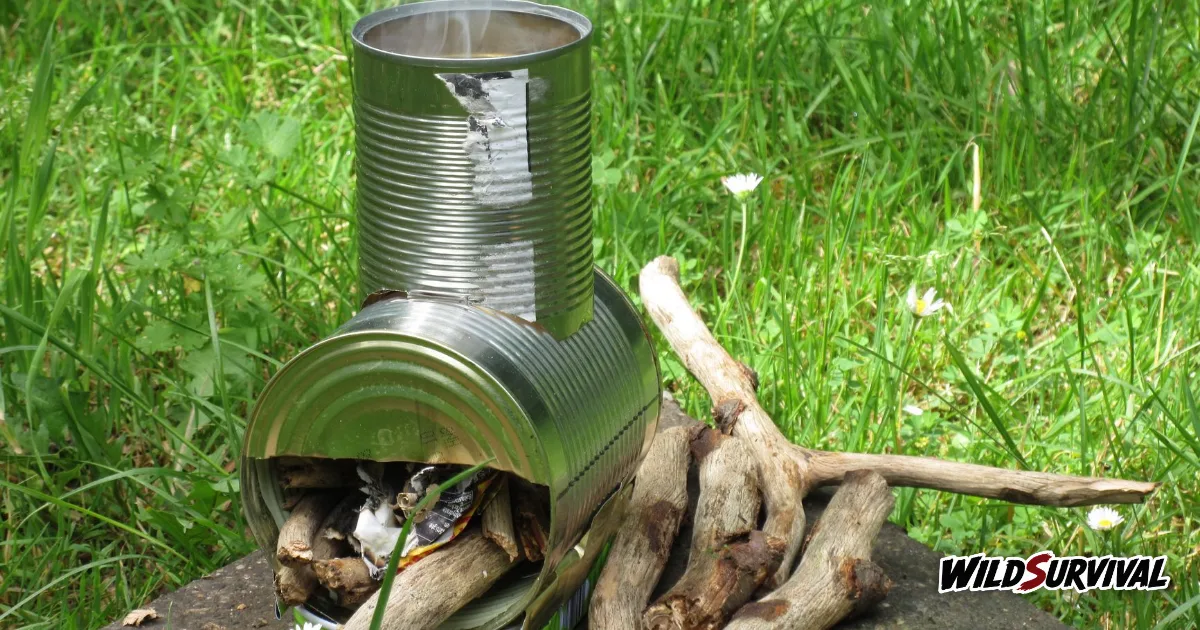
A soda can alcohol stove is two can bottoms fitted together, with an inner wall cut from the body of a can and a ring of small jet holes punched around the rim. It runs on denatured alcohol, weighs next to nothing and has no valve, so it burns until the fuel is gone. You need a separate pot support, a healthy respect for a flame that can be hard to see, and a check of local fire rules before you light it.
How a soda can alcohol stove works
The idea fits in very few parts. Alcohol poured into the centre heats up, vaporises and escapes as small flames through the holes around the edge. Mark Jurey, an industrial designer who has backpacked light for decades, walks through it in the FAQ for his Penny Stove, a can-built design where a coin covers the central filler hole.
In his version, heat from the burner drives fuel under the penny into the cup, where it boils, and that gas pressure feeds a central flame. As the fuel level drops, the penny seals and the gas leaves through the six outer jets for steady heat. A simmer ring dropped over the burner slows the burn.
Jurey covers versions of his alcohol stove built from soda cans, beer cans and Heineken cans. They all share the same strength and the same catch: no moving parts to fail, and no switch to turn the flame off. If you are still weighing a homemade stove against a bought one, our look at three camping stove systems shows the other side of the trade-off.
Tools and materials for the build
Ryan Carpenter lays out how to build a soda can stove on his site with a short list: two or more soda cans, plus spares, a ruler or tape measure, a scratch awl, a heavy-duty X-Acto knife or similar, a Sharpie, scissors, and high-temperature tape, also sold as metal, foil or muffler tape.
That tape matters. Carpenter says it has to survive the heat without burning or melting, which rules out ordinary tape. Work on a steady surface and consider thin gloves, because cut aluminium edges are sharp.
More articles on WildSurvival
- Quinzhee Snow Shelter: How to Build One That Holds
- Stevenson Trail: Walking the GR70 With or Without a Donkey
- Microspikes: Choosing Winter Traction for Icy Trails
Building the alcohol stove step by step
Start with the top piece. On the bottom of the first can, Carpenter pokes 16 evenly spaced holes around the rim. His trick is to make two opposite holes first, then add one halfway between each pair, doubling from 4 to 8 to 16. He also cuts the main opening in the centre of that can bottom.
Next, measure 20 mm up from the bottom of that can and cut: that is the stove top. Make eight evenly spaced snips around its edge to form tabs. On the second can, measure 25 mm up from the bottom and cut: that is the stove base.
The inner wall comes from a strip 35 mm wide cut from the body of a can. Size it to the base, then cut two notches at each end, on opposite sides, so the ends lock into a loop. Carpenter then cuts three roughly evenly spaced notches along one edge so fuel can flow out to the outer wall.
To assemble, set the inner wall inside the base, curve the tabs of the top inward, and press the top on. Wrap high-temperature tape around the seam to hold it all together. As an option, Carpenter makes a simmer ring from a can top or a snuffer from a can bottom.
Pot support, windscreen and stability
This alcohol stove design does not hold your pot. Carpenter warns the stove will not work if you set the pot directly on it, so you need a separate support. For his Penny Stove, Jurey makes one from drip irrigation tubing stakes, wire, steel rod or hog wire.
The support carries its own risk. Jurey notes it can be very dangerous when the pot is removed, since the flame is still burning underneath. He also warns that the simmer ring can melt if it heats up with no pot above it.
Wind is the other enemy. Andrew Skurka, who built his reputation on long-distance hikes, writes in his guide to the Fancy Feast alcohol stove that a windscreen must be used with that stove, or you will struggle to reach a boil in windy conditions. Set everything on flat, bare mineral ground before you light it.
Alcohol stove use and fire rules
A stove is still an open flame, and dry vegetation does not forgive mistakes. Fire restrictions vary by country, region, park and season, and they can change from one week to the next during a dry spell. Check them for the exact place you are camping before the trip, and again on arrival if the weather has been hot and dry.
If you are heading to France, our guide to wild camping rules in France covers the parks and the fire bans to know before you unpack your alcohol stove.
Which fuel to burn and how much to carry
Jurey tests every alcohol stove he builds on denatured alcohol and carries Everclear, a 95% ethanol, on the trail. He also mentions HEET in the yellow bottle, a methanol fuel-line antifreeze, as a clean-burning option. He tells you not to use rubbing alcohol, because it contains water, and does not recommend E85. Skurka adds that denatured alcohol is cheap and widely available, sold in hardware stores and at gas stations as HEET.
Jurey’s figures give you a starting point for filling your bottle. With his Penny Stove, boiling 2 cups of water takes about half an ounce, or 15 ml, of alcohol and 5 to 5.5 minutes of burn time. Boiling a quart takes about 1.2 ounces, or 40 ml.
Those numbers shift with the design, the wind and the starting water temperature. Run your own tests at home with a pot and a measuring cup before a trip. If you boil water to make it safe to drink, our guide to purifying water without a filter helps you plan your fuel around it.
Simmering on an alcohol stove
The simmer ring changes what the stove can do. Jurey says slow-cooking 2 cups takes about two-thirds of an ounce, or 20 ml, of alcohol, and with the ring in place the burn stretches to 18 to 20 minutes. In his simmer test, a third of an ounce, or 10 ml, burns for about 10 minutes.
He also gives the longest burn for his design: 1.5 to 2 ounces of alcohol with the simmer ring fitted runs for 40 to 50 minutes. That is enough to cook rice or pasta, as long as you watch the flame the whole time. Skurka’s cat food can design, by contrast, has no simmer control at all, which he lists among its drawbacks along with being slower than white gas or canister stoves.
Those timings belong to their own designs. Before your first trip, time your own alcohol stove with a measured amount of fuel, once at full flame and once with the ring. Jot the results on a slip of paper kept in your cook pot, and you will leave with the right amount of fuel and no spare bottle weighing down your pack.
Lighting and putting out an alcohol stove safely
An alcohol flame can be hard to see, especially in daylight, and Jurey asks for care when lighting. He suggests adding a little table salt to the fuel, or mixing it with isopropanol, to make the flame visible.
For the Penny Stove, he puts it in capitals: never light the stove unless the jets and the penny are covered with fuel. Some users told him the penny popped off and blew alcohol out on the first lighting.
Putting the flame out takes a plan. Carpenter describes trying to snuff his stove, knocking it into his lap and burning himself, and advises letting the leftover alcohol burn off. His snuffer still lets some air in, so you may need to tap the lid or pour water over it to finish the job. Skurka says much the same about his own alcohol stove: it burns until the fuel runs out unless it is smothered, and blowing it out is extremely difficult. Measure fuel carefully before lighting, and let the stove cool before you refill it.
Soda can alcohol stove at a glance
| Point | What the sources give |
|---|---|
| Materials | Two or more cans, awl, craft knife, scissors, high-temperature tape |
| Measurements | Top cut at 20 mm, base at 25 mm, inner wall strip 35 mm wide |
| Jets | 16 holes spaced around the rim |
| Fuel | Denatured alcohol, never rubbing alcohol |
| Consumption | About 15 ml to boil 2 cups with the Penny Stove |
| Safety | Separate pot support, windscreen, hard-to-see flame, let it burn out |