


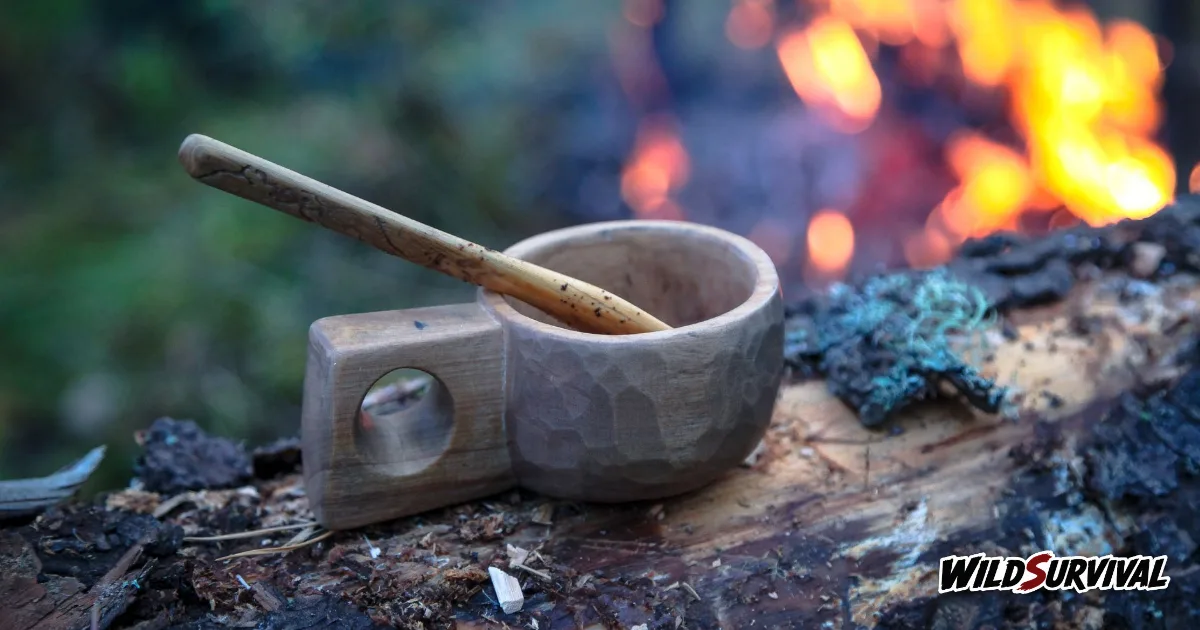
To carve a kuksa, you split a fresh birch log, or find a birch burl if you are lucky, rough out the cup with an axe, hollow it with a curved gouge and a crook knife, then let it dry slowly for weeks before the final shaping and oiling. Drying is the step that makes or breaks the cup, because green wood that dries too fast will crack. The rest is patience and sharp tools.
What a kuksa is and where it comes from
Jenni, who writes the Finnish nature blog Out in the Nature, describes in her piece on the Finnish kuksa a cup traditionally made from birch burl. The Indigenous Sámi people used them as personal drinking cups, across land that is now part of Sweden, Norway, Finland and Russia’s Kola Peninsula.
Many people insist burl is the only correct material, she notes, though plain birch is common too. A burl is the knobbly growth on a trunk where the grain twists in every direction. That wild grain gives the cup its strength, and it also makes the wood stubborn under the blade, which matters when you first decide to carve a kuksa yourself.
Choosing wood to carve a kuksa
The UK workshop Miscellaneous Adventures admits in its walkthrough on making a kuksa, the drinking vessel of the far north, that burls are scarce and difficult to carve. The workshop usually reaches for birch or wild cherry, and says other close-grained species work too. In place of a burl, it uses the butt end of a felled log, where the fibres are tightly packed and interlocked.
Green wood makes the whole job far easier. In his tutorial on carving a classic kuksa cup, Jon, of Jon’s Bushcraft, starts from a fresh birch log every time. If you have carved a spoon before, the cuts will feel familiar, and our guide to spoon carving for beginners is a good warm-up before you carve a kuksa for the first time.
Never cut a living tree for the project without the landowner’s permission. A freshly fallen limb, or a log from felling that was already planned, is all you need.
More articles on WildSurvival
- Quinzhee Snow Shelter: How to Build One That Holds
- Stevenson Trail: Walking the GR70 With or Without a Donkey
- Microspikes: Choosing Winter Traction for Icy Trails
Kuksa, guksi or noggin
Miscellaneous Adventures points out that the same cup goes by kuksa, guksi or noggin depending on where you are from. The workshop first came across these cups on a trek in northern Sweden, and the one its author drinks from, carved from wild cherry, was about eight years old when the piece was written.
Shops sell other versions now. Out in the Nature mentions cups made of pine pulp and even plastic. They copy the shape, but when you carve a kuksa yourself you end up with what makes it worth having in bushcraft: a light cup that came out of a log and a few tools, and that goes with you on every trip afterwards.
The tools you need to carve a kuksa
Miscellaneous Adventures keeps the kit short: a Gränsfors Bruks small forest axe for roughing out, a curved gouge and mallet for hollowing, a Mora Classic No. 2 straight knife for shaping, and a crook knife to finish the inside. The axe does a lot of the work, so our breakdown of the bushcraft axe for chopping, splitting and building helps you pick one suited to green wood.
Jon’s kit is slightly different: a hatchet for roughing out, a saw for stop cuts around the handle, a brace and bit to drill the handle hole, and a spoon knife for the bowl. He recommends the single-edged Frosts model. Whatever you use to carve a kuksa, keep every edge keen, because a dull blade skids and makes you force the cut.
Both methods split the work the same way. The axe or hatchet takes the bulk of the waste off the outside, the gouge or spoon knife empties the bowl, and the straight knife refines the curves and the handle. When you carve a kuksa, the crook knife or spoon knife handles the inside finishing, where a straight blade cannot follow the curve of the bowl.
How to carve a kuksa, step by step
When you carve a kuksa the way Miscellaneous Adventures does, you begin with a log about 30 cm long, split at least in half, keeping the cup away from the pith. Flatten the top and sides with the axe so the blank can be clamped or wedged steady.
Hollow the bowl with the gouge, driving it with the mallet at first. Then turn the blank over on a chopping block and rough out the outside with the axe. Jon traces a cup-sized circle on the split face first, then draws the handle outline and makes a saw cut on either side so the waste wood splits away cleanly.
Shaping with the straight knife and drilling the handle come next, as you carve a kuksa towards its final form. Inside, the crook knife or spoon knife works the wood from many angles and directions. Jon suggests using your fingers like callipers to feel whether the wall is even. Always cut with the edge moving away from your body and from the hand holding the blank, and take a break when tiredness makes your cuts less precise. Good knife sharpening for bushcraft makes this stage much safer.
Leave some extra wood at this point. Miscellaneous Adventures tidies the inside with the crook knife, then lets the cup dry before the final carve.
Jon adds two practical touches. He sands the inside of the handle hole by wrapping sandpaper around a dowel, and suggests threading a cord through the hole so the cup can hang from your pack or belt.
Drying the cup without cracks
Green wood shrinks as it loses water, and drying it too fast splits it. Miscellaneous Adventures stores the green cup in a cardboard box to slow things down, and says it can take three weeks to a month to dry.
To know where you stand, weigh the cup every few days. It gets lighter as it dries, and once the weight stops dropping, it is done. Jon takes a different route: he puts the cup in an open bag, ideally paper, lays it on its side, and leaves it for a week or two.
Keep it somewhere cool and shaded, well away from the stove. Slow drying is what protects the wood after all the effort it took to carve a kuksa.
Final shaping and oil
Once dry, the cup goes back under the knife for its final form. Miscellaneous Adventures leaves the choice open between keeping the tool facets and taking them off. Jon sands with coarse paper first, then medium and fine, and points out that sanding is easier once the wood is dry.
The two sources split on oil. Miscellaneous Adventures soaks the cup overnight in Swedish organic linseed oil, lets it dry, then polishes it. Jon prefers mineral oil, explaining that vegetable oil can sometimes go rancid, while adding that he has never had it happen.
Caring for a kuksa for years
Once you carve a kuksa, caring for it is simple. Out in the Nature says to rinse the cup with clean water after each use and let it dry, and to keep it away from dish soap and the dishwasher.
The same blog notes that many instructions recommend rubbing used coffee grounds inside the cup before its first use, to build up a protective layer. It also warns that a kuksa left unused dries out and may crack. The best way to keep yours in shape is to drink from it every day you are out.
| Stage | What the sources say |
|---|---|
| Wood | Traditional birch burl, or a fresh log of birch or wild cherry |
| Roughing out | Split log about 30 cm long, axe then gouge and mallet |
| Inside | Crook knife or spoon knife, wall checked with your fingers |
| Drying | Cardboard box or paper bag, one to four weeks depending on the source |
| Finish | Sanded or faceted, linseed oil or mineral oil |
| Care | Clean water, air drying, hand washing only |