

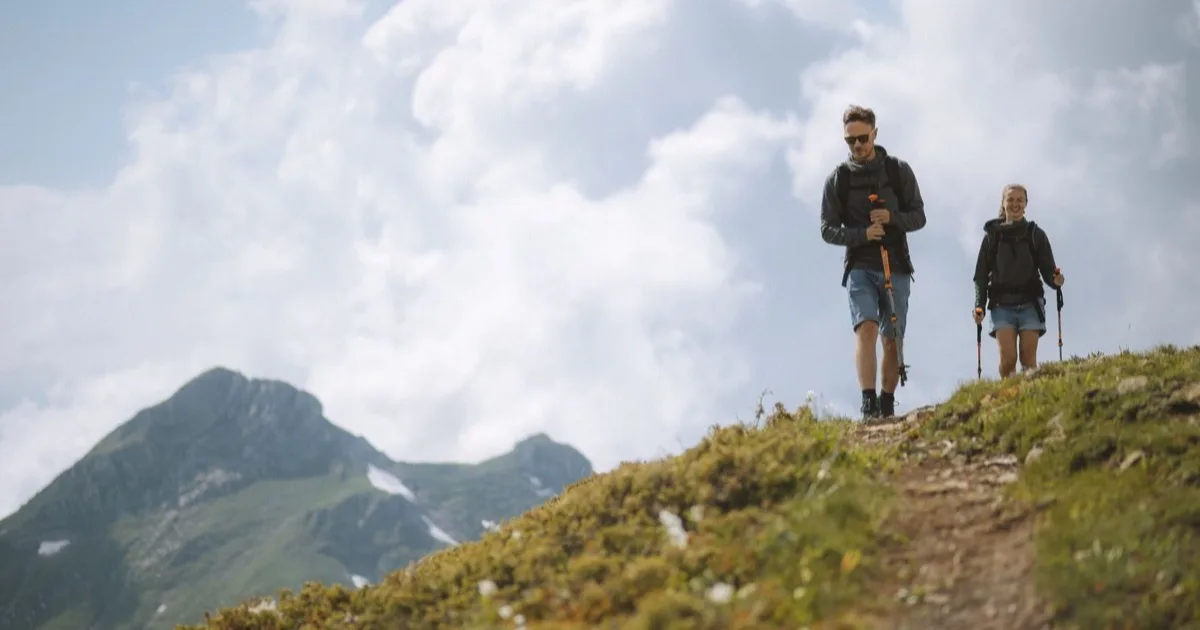
Trekking poles are set to the right length when your elbow bends at a right angle and your forearm sits level as you hold them with the tips on flat ground. For a first setting, the pole maker LEKI suggests multiplying your height in centimetres by 0.68, then shortening each pole by 5 to 10 cm for the climbs and lengthening it by the same amount for the descents. Used actively, they take load off the knees: a 1999 study in the Journal of Sports Sciences measured 12 to 25 % lower knee forces in walkers using poles on a slope.
Finding the right length for trekking poles
The LEKI walking pole length guide gives a test you can do at home: stand on a flat floor, hold the grip with the tip on the ground near your foot, and check that your elbow bends at a right angle with your forearm level. The Swedish brand Silva describes the same 90° rule in its own guide.
To know where to start before you even pick the poles up, LEKI and Silva both give the same formula: your height in centimetres multiplied by 0.68. Treat it as a starting point and fine-tune it with the right-angle test, since arm length and walking style vary from one person to the next.
| Example height, swap in your own | Sum | Starting length |
|---|---|---|
| 160 cm | 160 × 0.68 | 108.8 cm |
| 175 cm | 175 × 0.68 | 119 cm |
| 190 cm | 190 × 0.68 | 129.2 cm |
Once you have your length, mark it with a strip of tape on the shaft, or remember the number if your poles have a printed scale. It saves time every time you readjust on the trail.
Adjusting trekking poles for climbs and descents
One length will not suit a whole route. LEKI’s advice is to shorten each pole by 5 to 10 cm going uphill and lengthen them by 5 to 10 cm going downhill. Silva gives the same instruction without putting a number on it.
The reasoning is easy to see on the ground. Uphill, the slope comes towards you, and a long pole would force your hands up above your shoulders to plant it. Downhill, the ground falls away, and a longer pole reaches the ground sooner, in front of you, to brace you before your foot lands.
On a long climb followed by a long descent, the change takes a minute at the pass and makes the next few hours more comfortable. When you traverse a side slope, the same idea works pole by pole: the uphill pole can be shorter than the downhill one, so that both forearms stay at roughly the same height.
More articles on WildSurvival
- How to Use a Compass With a Map in Three Steps
- Hiking the GR20 in Corsica: Stages, Booking and Supplies
- Wild Camping in France: Bivouac Rules, Parks and Fires
Trekking poles straps, to save your hands
The strap at the top of the grip also passes on the push. In its guide to hiking with poles, Silva tells you to bring your hand up through the strap from underneath, then close your hand on the grip so that the strap sits between palm and handle.
Silva asks for a snug fit that is not too tight, and suggests letting the strap do some of the work. That way, the push on each plant goes through the strap and the wrist, and your hand can stay relaxed on the grip instead of clenching it all day.
On any stretch where a fall is possible, such as a river crossing or an exposed rocky step, take your hands out of the straps so you can let go of the pole at once if you slip. Our guide on how to cross a stream safely looks at how to use poles in that particular case.
What research says about trekking poles and knees
The main argument for trekking poles, protecting the knees, rests on a handful of biomechanics studies. One of them, published in 1999 by H. Schwameder and colleagues in the Journal of Sports Sciences, had eight men walk on a ramp tilted at 25°, with and without poles. According to its abstract on PubMed, using poles cut ground reaction forces, the knee joint moment and the compressive and shear forces inside the knee by 12 to 25 %.
In 2007, M. Bohne and J. Abendroth-Smith returned to the question in Medicine and Science in Sports and Exercise, with fifteen men on a 36° ramp, first without a pack, then carrying 15 % and 30 % of their body weight. They report a significant reduction in the joint moments at every joint they studied when poles were used, and less power absorbed at the ankle and knee.
The effect shows up on the flat too. A 2001 study by J. Willson and colleagues in the same journal followed thirteen adults walking on level ground: with poles, the impulse of the knee extensor muscles dropped by 7.3 to 10.4 %, even though participants walked faster and with longer strides.
These are small groups tested in a lab, so it pays to be careful about the exact size of the benefit on a real mountain. Still, they all point the same way: poles used actively take part of the work off the legs, especially on steep ground with a heavy pack.
Walking technique with two trekking poles
On the flat, poles follow the natural rhythm of walking: the right pole moves forward with the left foot and the left pole with the right foot, just like your arms swing without poles. The push comes from the arm that travels with the step.
On a steep climb, you can switch to planting both poles together in front of you and stepping up with help from your arms. On the way down, plant the poles a little ahead to brace, with the longer setting LEKI recommends, and keep your upper body upright over your feet.
The hardest habit to build is actually pushing. The effects measured in the lab assume an active push with each step, on poles that are really planted in the ground. If you are new to trekking poles, take one or two easy walks to find the rhythm before a demanding day, and look after your feet too: our guide to preventing hiking blisters rounds off the preparation for a long day out.
Checking your trekking poles before each walk
A pole that collapses halfway down a steep descent can cause the very fall it was meant to prevent. Before you leave, extend each pole to your base length, tighten the locks, then lean your full weight on it with the tip on the ground, as you would on a steep descent. If it slips, tighten the lock according to the maker’s instructions, and if it still slips, leave it at home.
Check the tips and baskets of your trekking poles too. A blunt tip grips less well, and a cracked basket can come off along the way. Slip a pair of rubber tip protectors into your pack for tarmac and bare rock, as both Silva and the Appalachian Mountain Club recommend.
After a wet day, take the sections apart and let them dry separately before you put them away, so that no damp stays trapped in the shafts and around the locks until the next outing. Finally, look over the stitching and webbing of the straps, since a good share of the push goes through them.
Trekking poles and the ground you walk on
The carbide tips fitted to most poles grip well, but they mark rock. In its page on Leave No Trace and trekking poles, the Appalachian Mountain Club, an American hiking organisation, recommends rubber tips wherever possible, because the carbide tip can leave unsightly scars. Silva also suggests rubber tips on hard surfaces.
The club also advises taking the baskets off in dense vegetation and avoiding planting poles in soft, muddy or loose soil. On a fragile stretch of path, simply carry them in your hand or strap them to your pack until you are past it.
Set to the right length, held through the straps and pushed on every step, trekking poles make long days kinder to your knees. Before a big route like the one in our guide to hiking the GR20 in Corsica, set them up at home and get used to their rhythm on a few shorter walks.