

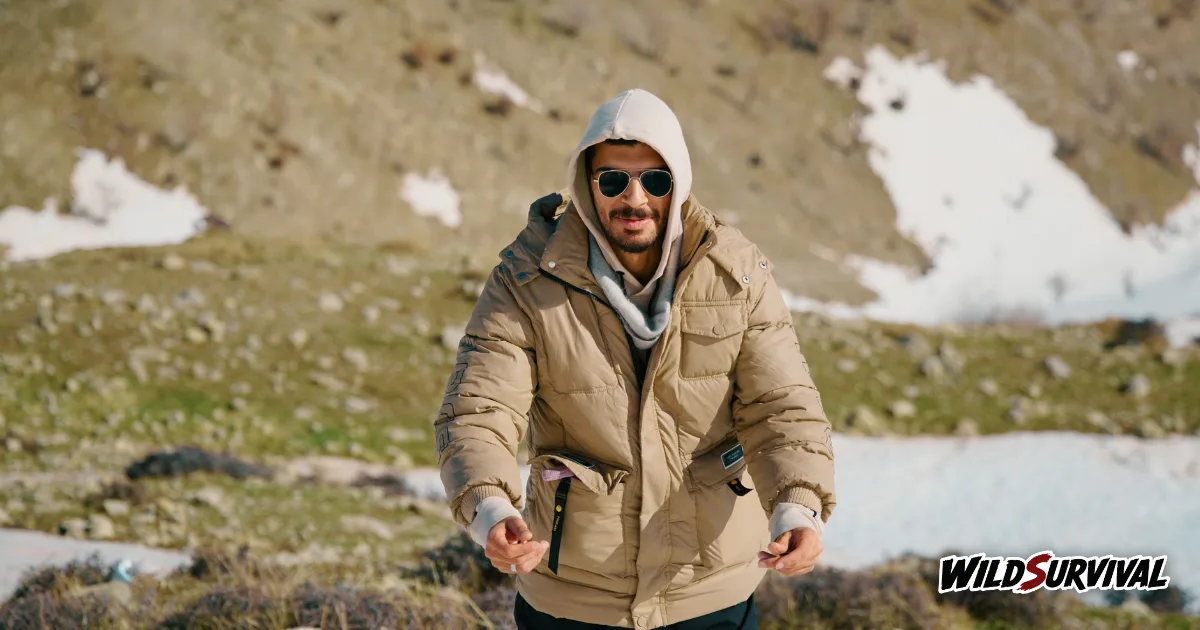
A layering system for hiking combines a base layer that moves sweat away from your skin, a mid layer that insulates and an outer layer that keeps out wind and rain. You add or remove each one as your effort and the weather change. The whole idea comes down to staying dry, because a wet body loses heat fast, whether the water comes from sweat or from a passing shower.
Why a layering system works on the hill
The British Mountaineering Council sets out the principle in its guide to hill walking clothing layers: it is better to wear a few relatively thin layers than a single thick one, because the air trapped between them is a good insulator and you can adjust your temperature more easily by putting layers on or taking them off.
On a walk, the heat your body produces changes all the time. On the climb you warm up and start to sweat, and at a windy stop on the summit you cool down within minutes. A single outfit cannot handle both, whereas three independent layers let you respond to each part of the day.
The base layer: moving sweat away
The first layer sits against your skin. The BMC describes its primary role as wicking away sweat and moisture from your body. Its job is to keep your skin dry so that the layers above can insulate properly, and warmth comes second.
Cotton has no place in a layering system. The BMC advises staying away from it because it retains moisture, leaving you uncomfortably damp and clammy, then cold. Two families of fabric do the job well: synthetics, which the BMC credits with great wicking abilities, and merino wool, which it notes has natural anti-bacterial properties. Icebreaker’s merino guide, published by the retailer Cotswold Outdoor, adds that merino moves moisture vapour away from the skin, dries quickly, feels warm even when damp and resists odour well enough to be worn for several days.
Synthetics suit short, hard days where you sweat heavily. Merino comes into its own on multi-day trips where you cannot wash your kit every evening. Our comparison of merino wool base layers goes through the options.
More articles on WildSurvival
- Trekking Poles: How to Set the Length and Use Them Well
- Emergency Water Supply: How Much to Store at Home
- Spoon Carving for Beginners: Wood, Knives and First Cuts
The mid layer: trapping warm air
The second layer is your main source of warmth. The BMC says it prevents heat loss by trapping warm air around the body. Three materials dominate: fleece, down and synthetic insulation.
Fleece is the all-rounder. The BMC calls it a great all-rounder because it keeps much of its insulating ability even when damp. Polartec, which created the fabric, highlights its breathability and fast drying, and offers its Classic range in several weights, from Micro up to the heavy 300.
Down gives the best warmth for its weight but hates water. British maker PHD states that the best down gives almost twice the warmth-to-weight performance of the best synthetic wadding, yet performs very poorly once wet and takes a lot of drying. According to PHD’s comparison of down and synthetic insulation, synthetics still offer up to 50% of their dry performance when wet, and dry quickly.
| Insulation | Strength | Weakness | Best use |
|---|---|---|---|
| Fleece | Insulates when damp, breathes | Bulky, little wind protection | Worn on the move |
| Down | Best warmth for its weight | Poor when wet, slow to dry | Stops and evenings in cold, dry weather |
| Synthetic | Keeps some warmth when wet, dries fast | Heavier for the same warmth | Damp climates and likely rain |
To pick the warm piece in your layering system, our outdoor puffer jacket guide compares down and synthetic in more depth.
The outer layer: keeping out wind and rain
The third layer is your main protection from wind, rain and snow, and in the BMC’s words it allows the inner layers to function properly when the worst weather arrives. The BMC adds that a waterproof jacket and trousers, combined with your insulating layers, will prevent any dangerous drop in body temperature.
A waterproof also has to let water vapour out, or you end up soaked from the inside. That is the job of a breathable membrane. Gore-Tex says each square inch of its membrane contains nine billion pores, 20,000 times smaller than a water droplet and 700 times larger than a water vapour molecule. Our pick of the best Gore-Tex hiking jackets compares the models.
Reading the label on your outer layer
In a layering system, waterproof ratings on jackets are not always comparable. The European standard EN 343, which covers protective clothing against rain, is a useful reference point. The testing laboratory SATRA explains that it grades waterproofness in four classes, from 8,000 Pa at class 1 to 20,000 Pa at class 4, with class 4 tested on both fabric and seams after pre-treatment. Protective clothing maker Skanwear gives the conversion: 1,000 Pa is roughly 102 mm of water column.
The same standard also grades breathability, measured as a Ret value using the sweating guarded hotplate method: the lower the Ret, the more water vapour the jacket lets through. Bear in mind that EN 343 is first and foremost a standard for personal protective equipment, so a hiking jacket only carries an EN 343 class if its maker has had it certified. Read the maker’s own spec sheet and compare models from the same brand.
A new jacket also loses performance if you neglect it. Gore-Tex explains that once water stops beading on the surface, the water-repellent finish needs reactivating with a wash followed by heat, or reapplying. The brand spells out the method: a 40 °C wash with a little liquid detergent and no fabric softener, then 20 minutes in the tumble dryer on a warm gentle cycle once the garment is dry.
Common layering system mistakes
The first mistake is setting off overdressed. It feels cold in the car park, so the fleece and the shell stay on. Twenty minutes up the hill your base layer is soaked with sweat and the layering system has stopped working. Start slightly cool, because the heat of the climb arrives quickly.
The second mistake is waiting until you feel cold before stopping to add a layer. At a summit or a col, pull on your puffer or fleece in the first minute of the break, before your body starts to cool. The third is slipping a cotton garment into the system, even as a mid layer. The BMC points out that cotton is particularly cold when wet, and it cancels out the benefit of everything else you are wearing.
Adapting your layering system to the season
The principle stays the same all year, only the thickness changes. In summer, a layering system often comes down to a light base layer and a thin waterproof at the bottom of the pack, plus a light fleece for the tops. In winter, the base layer gets thicker, the fleece moves up a weight and the puffer joins the pack. Polartec offers its Classic fleece in several weights, from Micro up to 300, to cover exactly that range.
Spring and autumn are when the weather turns fastest, and when a good layering system pays off most: a cold morning, a mild afternoon and a heavy shower can all fit into the same day on the hill.
Adjusting your layering system through the day
A layering system only works if you actually adjust it. The practical rule is to take a layer off before you start sweating, and put one back on before you get cold. At the foot of a climb, remove the mid layer even if it feels chilly: ten minutes later you would already be soaking your base layer.
| Situation | Layers worn |
|---|---|
| Climbing on a cool, dry day | Base layer alone, or base and a light fleece |
| Windy ridge | Base and outer layer, mid layer if the cold persists |
| Cold rest stop | All three, with the puffer on as soon as you stop |
| Steady rain | Base, fleece or synthetic, outer layer zipped up |
Keep your warm layer dry at the top of your pack so you can pull it on in seconds when you stop. That moment, when your body stops producing heat and sweat starts to chill you, is where a good layering system earns its place.