

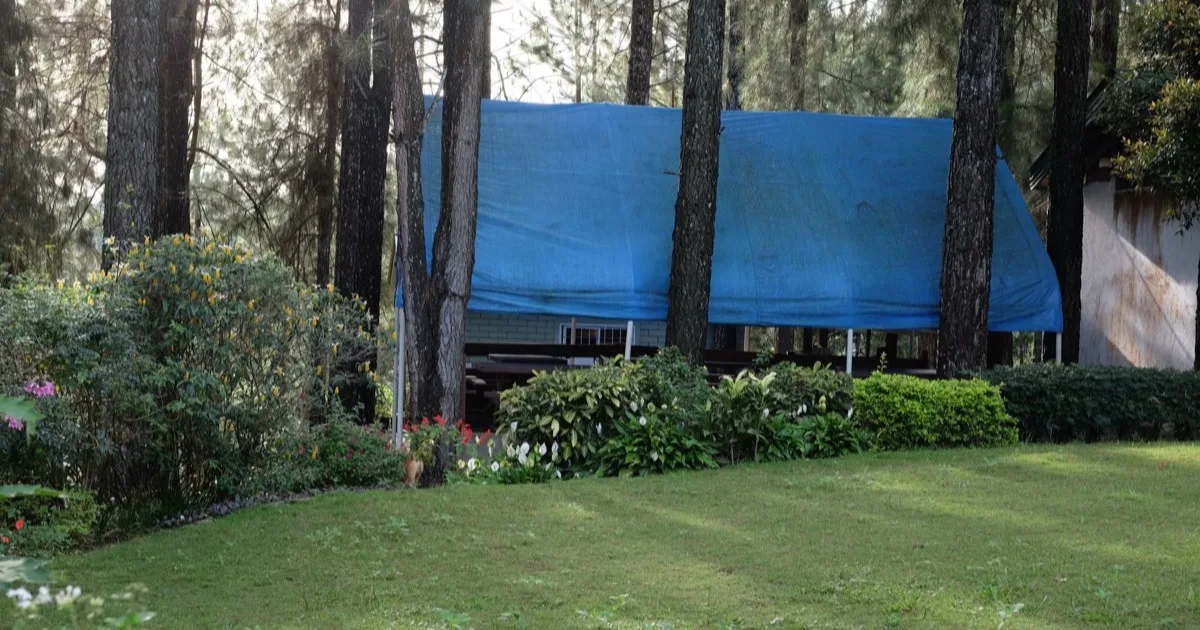
To pitch a tarp for a night out, you string a ridgeline between two trees, hang the fabric from it, and then pick a shape that matches the wind and rain you expect. The A-frame is the setup most people start with, the lean-to suits calm evenings, and the low, closed shapes earn their keep once the weather turns. Below are the five configurations worth knowing, the knots that hold them, and the mistakes that keep people awake under a flapping sheet of nylon.
Gear to pack before you pitch a tarp
A tarp is a waterproof sheet with tie-out points around its edge and, on some models, along the centre line. Its size sets the limits of what you can build. British maker Terra Nova suggests a 2.4 m by 3 m tarp as a good starting point. A square 3 m by 3 m sheet opens up more pitches: the DD Hammocks spec sheet for its 3×3 tarp lists 790 g for the fabric alone and 19 attachment points, 16 around the edge and 3 along the centre line.
Beyond the sheet itself, bring a ridgeline (the cord you tension between two trees to carry the tarp), four to eight guylines, as many stakes, and two short lengths of thinner cord for friction hitches. Trekking poles stand in for trees above the treeline or in an open clearing.
Parks Canada’s setup guide calls for two mature trees roughly 3 to 5 m apart to run the ridgeline. Spot that gap before you unpack anything, because it decides exactly where your shelter will sit.
Reading the ground and the wind direction
Where you camp matters as much as how you rig. Andrew Skurka, an American long-distance hiker and guide, looks for flat, level and soft ground such as duff, grass or sand, since rainwater is less likely to pool there. Check that runoff flows away from your sleeping spot, because a shallow dip under the tarp turns into a puddle at the first proper downpour. Our walkthrough on choosing your campsite location covers the traps to watch for on the ground.
Six Moon Designs, a lightweight shelter maker, advises looking for a natural windbreak in rocks or dense vegetation. The company also points out that sleeping in the open can be noticeably colder than sleeping under tree cover.
Then comes orientation. The paddling site Canadian Canoe Routes and the Colorado Mountain Club give the same advice: put the low edge of the tarp towards the prevailing wind. Gusts then slide over the slope of the fabric instead of filling it like a sail.
More articles on WildSurvival
- Foraging Wild Mushrooms, the Basic Safety Rules
- Field-Repairing Your Hiking Gear, the Kit Worth Carrying
- Treating a Sprain or Fracture in the Backcountry
The A-frame, the classic way to pitch a tarp
DD Hammocks describes the A-frame as the most common setup. You run the ridgeline between two trees, hang the tarp from its central tie-outs, then stake the four corners to the ground with guylines. Side points get pegged out as well when the wind picks up.
The Colorado Mountain Club’s training notes on emergency tarp shelters recommend a ridgeline that is low and tight for rain, snow or cold, with both sides staked and one end left partly open for airflow. Above the treeline, two trekking poles take the place of the trunks.
The lower the ridgeline, the better the shelter sheds weather, and the less room you get inside. On a still, rainy night, enough height to kneel underneath is plenty. When wind is forecast, drop it until you have to crawl in.
Lean-to and diamond pitches for quiet nights
The lean-to goes up faster than any other pitch. One edge of the tarp ties to the ridgeline, the opposite edge gets staked down, and the fabric forms a sloping roof open on one side. DD Hammocks suggests it for a daytime stop or for up to three people sleeping on the ground. The Colorado Mountain Club keeps it for moderate winds and light precipitation, with the back wall facing the wind.
That open side cuts both ways. You get a view of the sky and the warmth of a stove set up in front, yet rain that swings round with a crosswind ends up on your sleeping bag.
The diamond only works with a square tarp, according to DD Hammocks. Two opposite corners tie to trees or poles and the other two are staked out, so two stakes is the bare minimum, although the brand recommends guying out more points in strong wind. This shape covers a hammock well and blocks rain blowing in from the ends, which makes it a natural partner for a hammock hung in the woods.
Low, closed shapes for bad weather
When the wind really gets going, you need something low and enclosed. Mountain Designs’ tarp guide covers several. Its “forest tent” stakes two corners on the same side, then lifts the doorway with a pole and a guyline, giving a low profile that holds off wind and rain alike. The arrowhead ties the middle of one edge to a tree and stakes the neighbouring corners, a shape the brand rates as solid in wet weather.
The DD Hammocks spec sheet adds a tarp tent that needs no trees at all: a trekking pole or a padded stick holds the fabric up from inside, and everything else gets staked close to the ground. It takes more stakes and a bit of practice, though it can go up anywhere the soil takes a peg.
Rig each of these at least once at home in good weather before you rely on it. Working out the guyline order by headlamp in a downpour burns far more energy than a dry run in the garden.
Knots that keep a tarp taut all night
Three knots cover almost everything you need. The Colorado Mountain Club recommends a bowline to tie cord to the tarp and a taut-line hitch on the stakes, since it slides to adjust tension without coming undone. If those feel rusty, our guide to essential knots and rope skills walks through them step by step.
The third is the prusik, a friction hitch tied with cord thinner than the ridgeline. Paul Kirtley, a bushcraft instructor at Frontier Bushcraft, explains in his piece on using prusik knots on a tarp that it keeps the fabric exactly where you want it on the ridgeline, while still letting you slide it back to centre in one move.
Tension does the rest. Canadian Canoe Routes says to pull the tarp as tight as a drum, and Terra Nova recommends adjusting height and tension so water runs off and the fabric stops flapping. A slack sheet collects pools of water and slaps against itself until dawn.
Common mistakes when you pitch a tarp
Rain often finds its way in along the ridgeline itself. Derek Hansen, who runs The Ultimate Hang, recommends a drip line: a short piece of string tied onto the line just outside the shelter, which diverts the water and lets it fall to the ground. He rates it as more reliable than most of the gadgets sold for the same job.
Another classic slip is to pitch a tarp too high for comfort. The shelter feels roomy at dinner and lets wind-driven rain in at three in the morning. Set the height for the forecast overnight weather, and let evening comfort come second.
Finally, a night under a tarp should leave the site as you found it. The US National Park Service lists trails, established campsites, rock, gravel, sand, dry grass and snow as durable surfaces. Stake out on ground like that and fill the holes when you leave.
Matching the setup to tonight’s forecast
Before you pitch a tarp, check the forecast and choose the shape from it: lean-to or diamond in calm weather, a low A-frame for rain, and closed shapes such as the forest tent or a tarp tent as soon as the wind settles in. Practise each one at least once, keep the three core knots fresh, and picking the right pitch on the trail becomes a matter of seconds.