


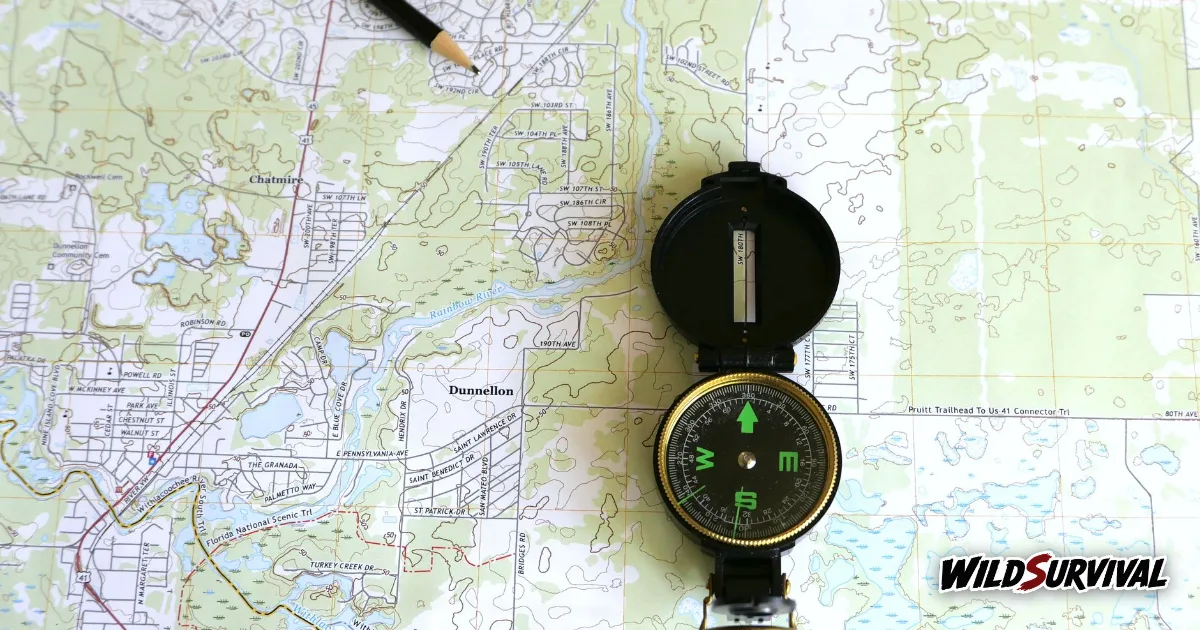
Reading a topographic map comes down to three skills: using the scale to turn centimetres into distance, reading contour lines to see the shape of the land, and using the grid to pin down exactly where you are. On an Ordnance Survey Explorer map at 1:25 000, 4 cm on the map equals 1 km on the ground. Contour lines packed close together mean a steep slope, and widely spaced lines mean gentle ground, so a quick look already tells you where the climbing starts.
Picking the right topographic map for the hills
In Britain, most walkers carry one of two Ordnance Survey series. The Fell Runners Association navigation guide sums them up: on a Landranger map at 1:50 000, 2 cm on the map equal 1 km on the ground, and on an Explorer map at 1:25 000, 4 cm equal 1 km. On both, the grid lines are exactly 1 km apart. The same guide notes that Harvey maps use a different contour interval, which is why the key always deserves a look before you set off.
The Explorer is the better choice on foot, because it shows field boundaries, small streams and the fine detail of the terrain. The Landranger covers more ground per sheet and suits planning a multi-day route or a drive between trailheads.
| Map | Scale | On the map | Contour interval |
|---|---|---|---|
| OS Explorer | 1:25 000 | 4 cm = 1 km | 10 m, index contours at 50 m |
| OS Landranger | 1:50 000 | 2 cm = 1 km | 10 m, index contours at 50 m |
| Harvey | varies by sheet | see the sheet | 15 m, index contours at 75 m |
These figures come from the Fell Runners Association guide. Ordnance Survey adds that the interval drops to 5 metres in flatter areas, so check the key of the sheet in your hand.
Measuring distance on a topographic map
The Ordnance Survey map reading guide explains scale plainly: on a 1:50 000 map, everything is 50,000 times smaller than it is in reality. It also gives a handy rule for measuring with a ruler, since on a 1:25 000 map each millimetre is worth 25 metres, and on a 1:50 000 map each millimetre is worth 50 metres.
Paths rarely run straight, so lay a piece of string or the edge of a sheet of paper along the route, follow the bends, then hold it against the scale bar in the margin of your topographic map. Remember that this gives you flat distance only. A 400 metre climb barely shows on paper, yet it will shape your whole day.
More articles on WildSurvival
- Hiking in the Rain: How to Stay Dry and Safe
- How to Identify Trees: Leaves, Bark, Buds and Fruit
- Winter Camping: How to Prepare for a Night in the Cold
Reading contour lines on a topographic map
Ordnance Survey describes the contour lines of a topographic map as thin orange or brown lines that join points of equal height. The height difference between neighbouring lines is normally 10 metres, but 5 metres in flatter areas, and the key tells you which applies. A guide on the OS Maps site adds that, at this scale, bolder lines are numbered and fall every 50 metres of height, which saves you counting each line.
Steepness follows from the spacing. In the words of the OS guide, the closer together the contour lines, the steeper the slope, and on a very steep hillside they may even merge into one another. The numbers printed on the contours also help, because they read uphill, so the top of each figure points towards higher ground.
There is a limit worth knowing. Ordnance Survey warns that a feature 9 metres high may not appear at all on a map with a 10 metre contour interval. A small knoll or a short rocky step can hide between two lines, and only your eyes on the ground will pick it up.
Spotting valleys, spurs and cols
On a topographic map, landforms show up in the shape of the contours. Ordnance Survey offers a simple rule: if the V of the contours points uphill, you are looking at a valley, and if it points downhill, it is a spur. A blue stream line running along the bottom of the V confirms the valley.
The OS Maps guide describes a col as contours bunched together on either side of lower, more evenly spaced contours, between two areas of high ground.
| On the topographic map | On the ground |
|---|---|
| Contours tightly packed | Steep slope, possibly crags |
| Contours widely spaced | Gentle ground, a good spot for a break |
| V pointing uphill with a blue line | Valley and stream |
| V pointing downhill | Spur or ridge |
| Tight contours either side of a low gap | Col between two tops |
Giving a six-figure grid reference
Ordnance Survey maps are covered in faint blue grid lines. A 4-figure reference, such as 1945, identifies a single kilometre square, while a 6-figure reference, such as 192454, narrows it down to a 100 metre square within it. The OS guide stresses that the reference always describes the bottom left-hand corner of the square you are in.
The order matters: along the corridor first, then up the stairs, meaning the horizontal value before the vertical one. In the guide’s own example, a point 7 tenths across and 8 tenths up within square 1844 has the 6-figure reference 187448. Britain is also split into 100 km squares, each with two letters, so a full reference reads like NX 509582. Without the letters, the same numbers would repeat in every 100 km square, which matters if you ever pass your position to Mountain Rescue.
Colours and rights of way
Colour tells you where you are allowed to walk. According to Ordnance Survey, public rights of way are marked in green on a 1:25 000 Explorer map and in magenta on a 1:50 000 Landranger map. The guide also points out that footpaths drawn in black are not necessarily public rights of way, so a black dashed line on your topographic map does not guarantee access.
Putting the map to work on the trail
Always set your topographic map so it lines up with the land, by matching a feature you can see, a lake, a ridge or a road, with its shape on the sheet. Our guide on how to use a compass with a map shows how to do this with a compass and how to walk on a bearing in poor visibility.
Then tick off features as you go. At each junction, stream crossing or change of slope, check that what you see matches the contours. If the map says you should be going downhill and you are climbing, stop and head back to the last point you were sure of. Our article on finding your way in a forest with no signal builds on those habits.
A paper map never runs out of battery. Keep it in a waterproof case in an easy-to-reach pocket, and spend ten minutes going over the route at home the night before, because a topographic map you have already studied is far quicker to read on a wet hillside.