


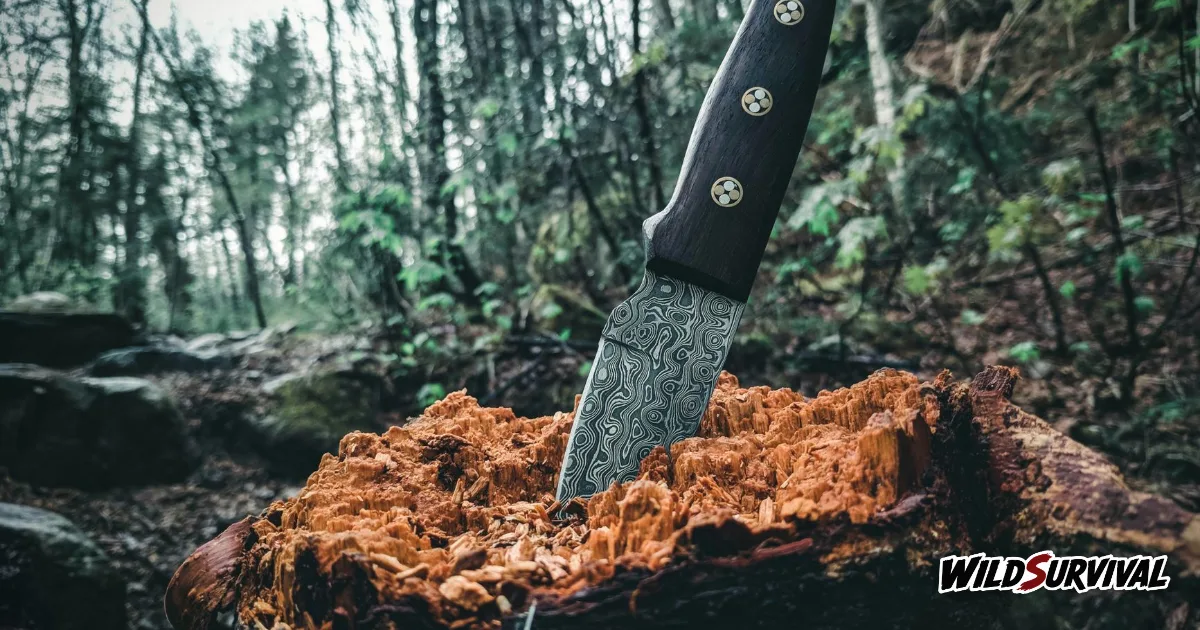
Batoning means resting a knife edge across the top of an upright log and striking the spine with a length of wood, so the blade is driven down the grain and splits the log. It calls for a fixed-blade, full-tang knife at least 3 mm thick and dry wood free of knots. The rule that saves your blade is to strike square, never at an angle, and to swap to an axe as soon as the log is thicker than your arm.
Batoning as a fallback skill
The specialist retailer Knivesandtools sums it up in one line: splitting wood by hitting the knife with another piece of wood, the baton. Its guide to batoning with knives then adds that an axe is much better suited to the job. Not everyone carries an axe, though, and batoning earns its place when a knife is the only tool on your belt and you need dry wood for a fire. It also saves weight in the pack, since the knife you already carry takes on a job that would otherwise call for an axe.
The value lies inside the log. Splitting it opens up the core, which is less exposed to the rain than the bark, and from there you can work down to kindling and feather sticks. When the weather turns, our guide to making fire in the rain takes it from there.
Choosing the right knife for the job
The sources agree on the basics. Knivesandtools suggests a blade at least 3 mm thick and a full tang, meaning steel that runs the whole length of the handle, because it is simply the strongest build. The knife maker Montana Knife Company goes further and recommends a blade at least 5/32 of an inch thick, roughly 4 mm, and 4.5 to 5 inches long, which works out at 11.4 to 12.7 cm.
Leave the folding knife in your pocket. Knivesandtools is blunt about it: batoning with a pocket knife is always a bad idea, however strong it looks, because the lock and hinge cannot take the impact. The same retailer also warns against hollow-ground blades, which are too thin behind the edge.
Some knives are built for batoning. Morakniv describes its Garberg range as full-tang knives with a thick blade, designed for tough jobs such as carving, cutting and batoning, with a 3.2 mm blade. Opinions differ on steel: Knivesandtools says stainless steels cope slightly less well with impact, whereas Morakniv states that its stainless steel is tougher and more resistant to breakage. Our survival knife buying guide covers the other points to weigh up.
In the UK, carrying the knife is a question of its own. The Scout Association’s knife safety resource, written in 2015, notes that a fixed blade, a folding knife with a blade over 3 inches, or a locking folder all require a good reason to carry in public, whatever your age, and that selling one to anyone under 18 is illegal. Check the current law before you head out, and keep the knife packed away until you reach your camp.
More articles on WildSurvival
- How to Read a Topographic Map: Contours, Scale and Grid
- Hiking in the Rain: How to Stay Dry and Safe
- How to Identify Trees: Leaves, Bark, Buds and Fruit
Batoning step by step
Montana Knife Company sets out a clear method. Stand the log upright on firm ground or a steady stump. Rest the knife edge across the top of the log, leaving at least a third of the blade sticking out on the far side. That overhang is essential, because it is what you will strike once the blade has bitten in.
Take a baton of hardwood and tap the spine with short, firm blows. Wikipedia describes the rest of the sequence: you first strike the spine to drive the middle of the blade into the wood, then strike the tip that sticks out to push the blade deeper until the log splits. Montana Knife Company advises hitting as far from the tip as you can to avoid damaging it, so in practice strike the overhang close to the log rather than on the very point.
The angle decides everything. Montana Knife Company says never to baton at an angle, and Wikipedia notes that a broken blade is a common result of striking the spine off square. Keep the blade level, and if it starts to tilt, straighten it before the next blow. The same maker sets a simple limit: once the log is thicker than your arm, reach for a hatchet.
Once the log is open, repeat on each half, then on each quarter. Every pass leaves thinner pieces that split more easily, and you soon have sticks as thick as a finger, then as thin as a pencil. Keep the driest splinters from the core for carving shavings: they will take the flame first, before the kindling and the larger pieces you add as the fire builds.
Risks for the blade and for you
Wood hides traps. Knivesandtools lists rock-hard knots as well as a nail, a bullet or a stone lodged in the wood, any of which can chip the edge. Wood that has been lying on the ground often holds sand or grit. Pick straight-grained, knot-free rounds, ideally standing or hung-up dead wood. The retailer also points out that batoning wears down your edge, so plan on sharpening your bushcraft knife after a session.
Cold adds a further risk. The Swedish maker Fällkniven warns that cold makes all steel more brittle, so in a hard frost strike more gently and split smaller pieces. On safety, Montana Knife Company asks you to keep every part of your body out of the line of the blade, and Knivesandtools stresses in its kindling guide never to hold the wood in your hand while splitting it. Work kneeling or crouched, with the log wedged firmly and your legs well clear of the blade’s path.
What knife makers’ warranties say
Read the warranty before you baton with an expensive knife. Morakniv offers a lifetime warranty against defects in materials and workmanship but excludes damage caused by misuse or abuse. Fällkniven covers its knives for ten years when bought from an authorised dealer, with the same kind of exclusions, and its warranty page states that an axe is the right tool for splitting firewood. The brand also says never to pound the spine with a hammer or sledgehammer.
The Finnish knifemaker Roselli goes further and names batoning as an exclusion from its lifetime warranty, explaining that it can damage the handle material or loosen the tang. Gerber, for its part, refers to improper use without naming the technique. If you want a knife you can split wood with without worrying, choose one sold for the job, such as the Garberg, and keep your favourite carving knife for finer work. A knife broken while batoning is therefore unlikely to be replaced under warranty.
Before you baton: a quick checklist
| Check | What to look for |
|---|---|
| Knife | Fixed blade, full tang, at least 3 mm thick |
| Wood | Dry, straight-grained, knot-free, thinner than your arm |
| Blade position | Level, with at least a third overhanging |
| Baton | Hardwood, struck close to the log, never a hammer |
| Safety | Hands and legs clear of the blade, log wedged firmly |
For bigger rounds, Knivesandtools recommends a hand axe or camping axe about the length of your forearm, and a saw to cut just before a knot so that each piece keeps only one. Batoning remains the backup when a knife is all you have, and done well it gives you the dry wood you were missing in a few minutes.